Roblox Studio has opened up a world of possibilities for creators, allowing them to craft unique experiences within the Roblox universe. Traditionally, developers have two primary methods for acquiring assets for their Roblox projects:
3D modelling: Creating custom assets from scratch using 3D modelling software.
Asset marketplace: Purchasing pre-made assets from the Roblox Marketplace.
But what if you need a specific asset that doesn't exist yet, or you're looking to dramatically accelerate your 3D modeling workflow? Whether you're a beginner exploring the world of 3D creation or a seasoned professional looking to streamline your workflow, Cube's custom-trained AI models and algorithms provide the right tools you need to craft stunning worlds in Roblox Studio with unprecedented ease and efficiency.
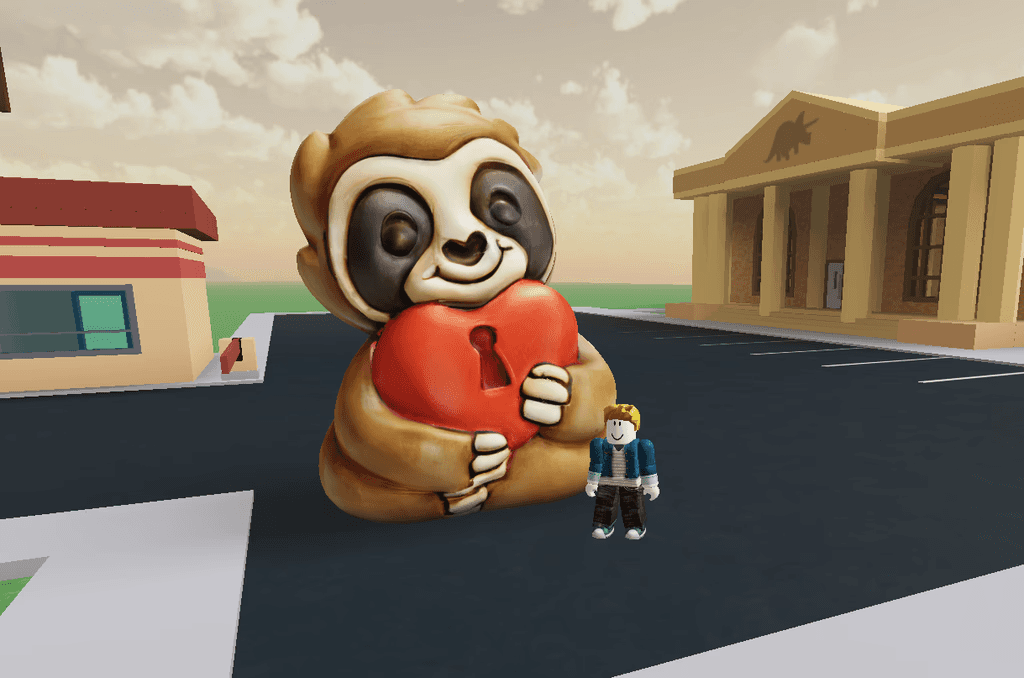
In this tutorial, we'll walk you through using Cube to create custom assets for your Roblox projects, from concept to implementation. Here are a couple of examples of what your worlds could look like:
Image to 3D with Cube
Let’s start with creating assets using Cube's Image to 3D tool.
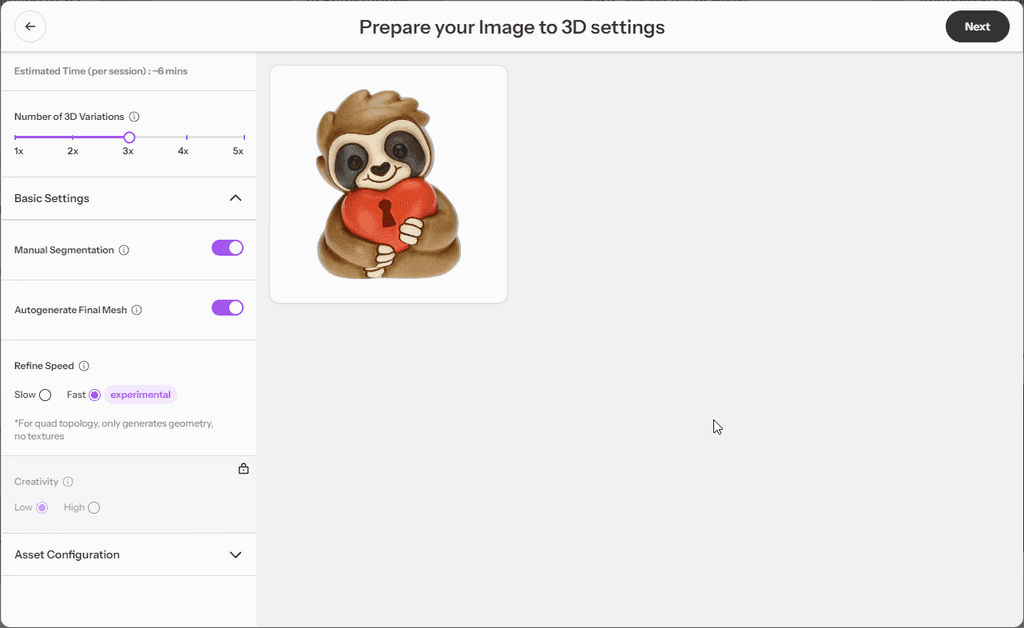
1. Upload your image in the Image to 3D tool at 3d.csm.ai. Here we take the following example:

The next step is to check that the right settings for Image to 3D are set:
It is recommended to enable “Manual Segmentation” for more control and to have the segmentation mask tight around the object colours - any unintended background can lead to artefacts in your 3D model.
For fast refines, we also recommend setting multiple variations - this allows you to pick the best result in the end.
Next to topology type and polycount settings, you can choose between slow and fast refines. Even though slow refines take more time, they can work better for furniture and thin structured objects.
This is what your settings tab could look like for a fast refine:
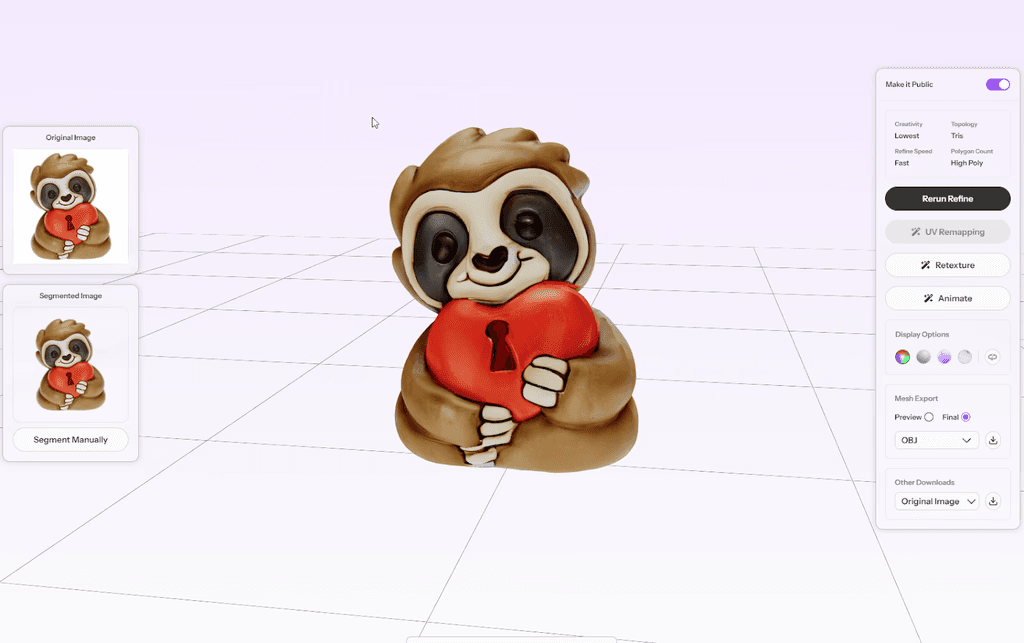
And this is what the final 3D model looks like 😍:
d. Retexturing (Optional): You can briefly touch up the textures of your 3D model within seconds by using the “Retexture” tool - its magic paintbrush allows you to paint colors, AI textures or even the original input image on your new 3D model, which enables control and perfect textures. Find a short video about it here.
e. Animation (Optional): You can directly rig and animate humanoid characters and import them into Roblox - for this we recommend your input image to show the character in t-pose:
f. Now you can download your 3D model in the Mesh Export section - we recommend downloading it in FBX format:

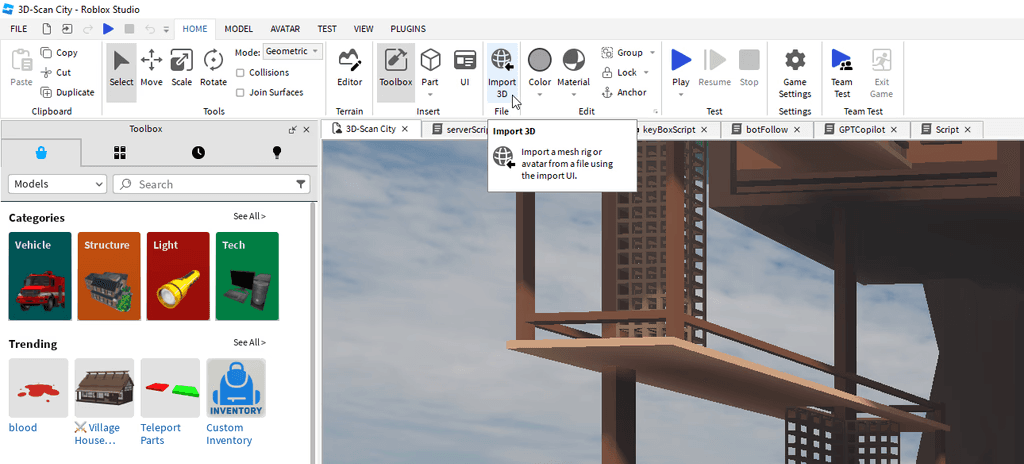
Import your Cube asset into Roblox:
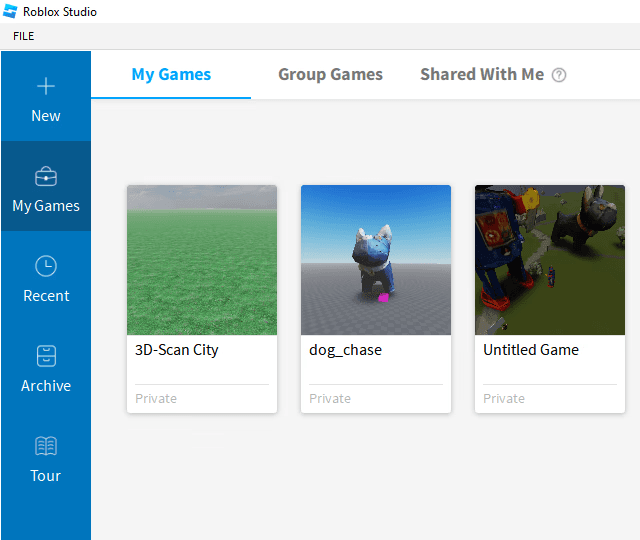
Launch Roblox Studio and open your game world
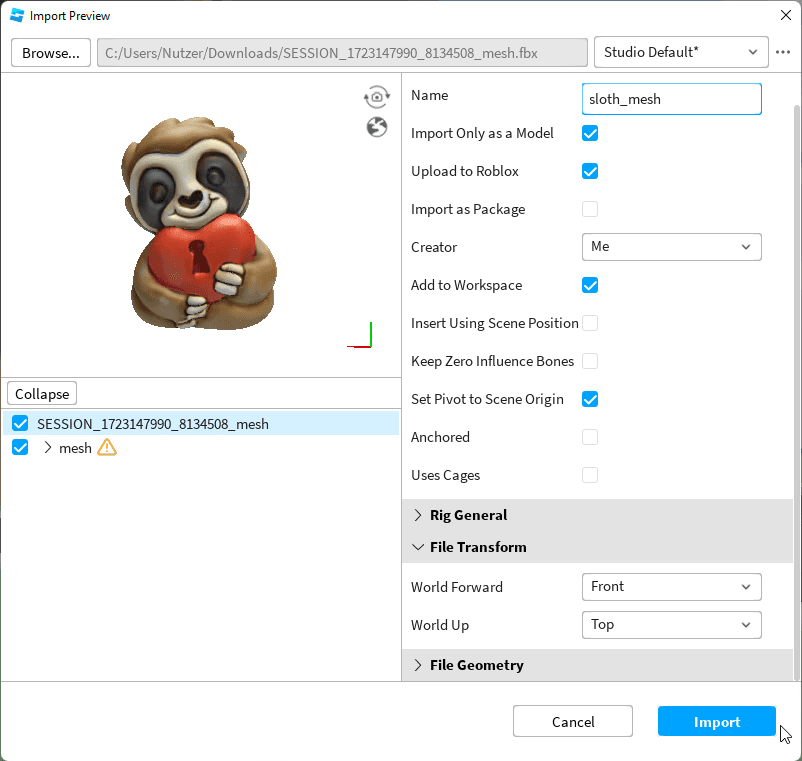
b. Import your downloaded FBX 3D model:
c. Feel free to assign it a custom name and click “Import”:
d. Use the shift, scale and rotate buttons to position your 3D model in your world:
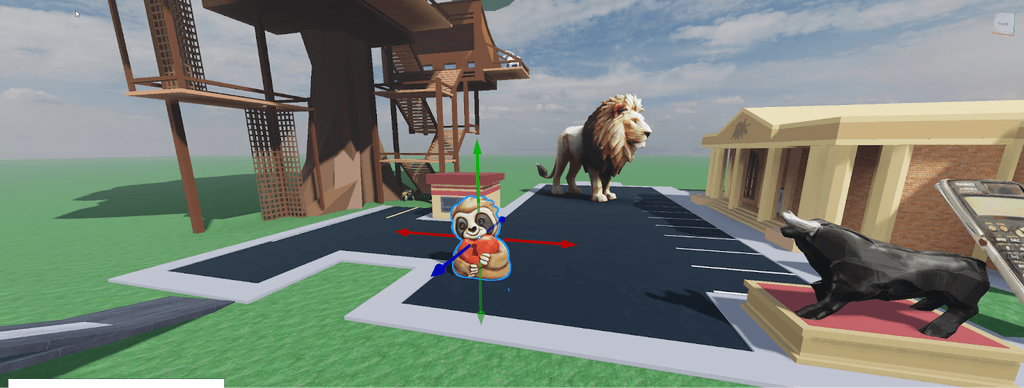
And that’s it - now your Cube generated 3D model is uploaded to Roblox🪄: